Tribes of Midgard puts you in the role of a Viking sent to the mortal realm to prevent Ragnarok and the collapse of the world. Along the way, you’ll encounter friendly NPCs, hostile denizens, gigantic Jotnar enemies, and various quests. Still, the main goal, assuming you’re playing Saga Mode, is to defeat Fenrir. Here’s our Tribes of Midgard beginner’s guide to help you with some basic crafting, general exploration, leveling tidbits, and survival tips.
Note: For more information, check out our Tribes of Midgard guides and features hub.
Tribes of Midgard – Beginner’s guide, crafting basics, and survival tips
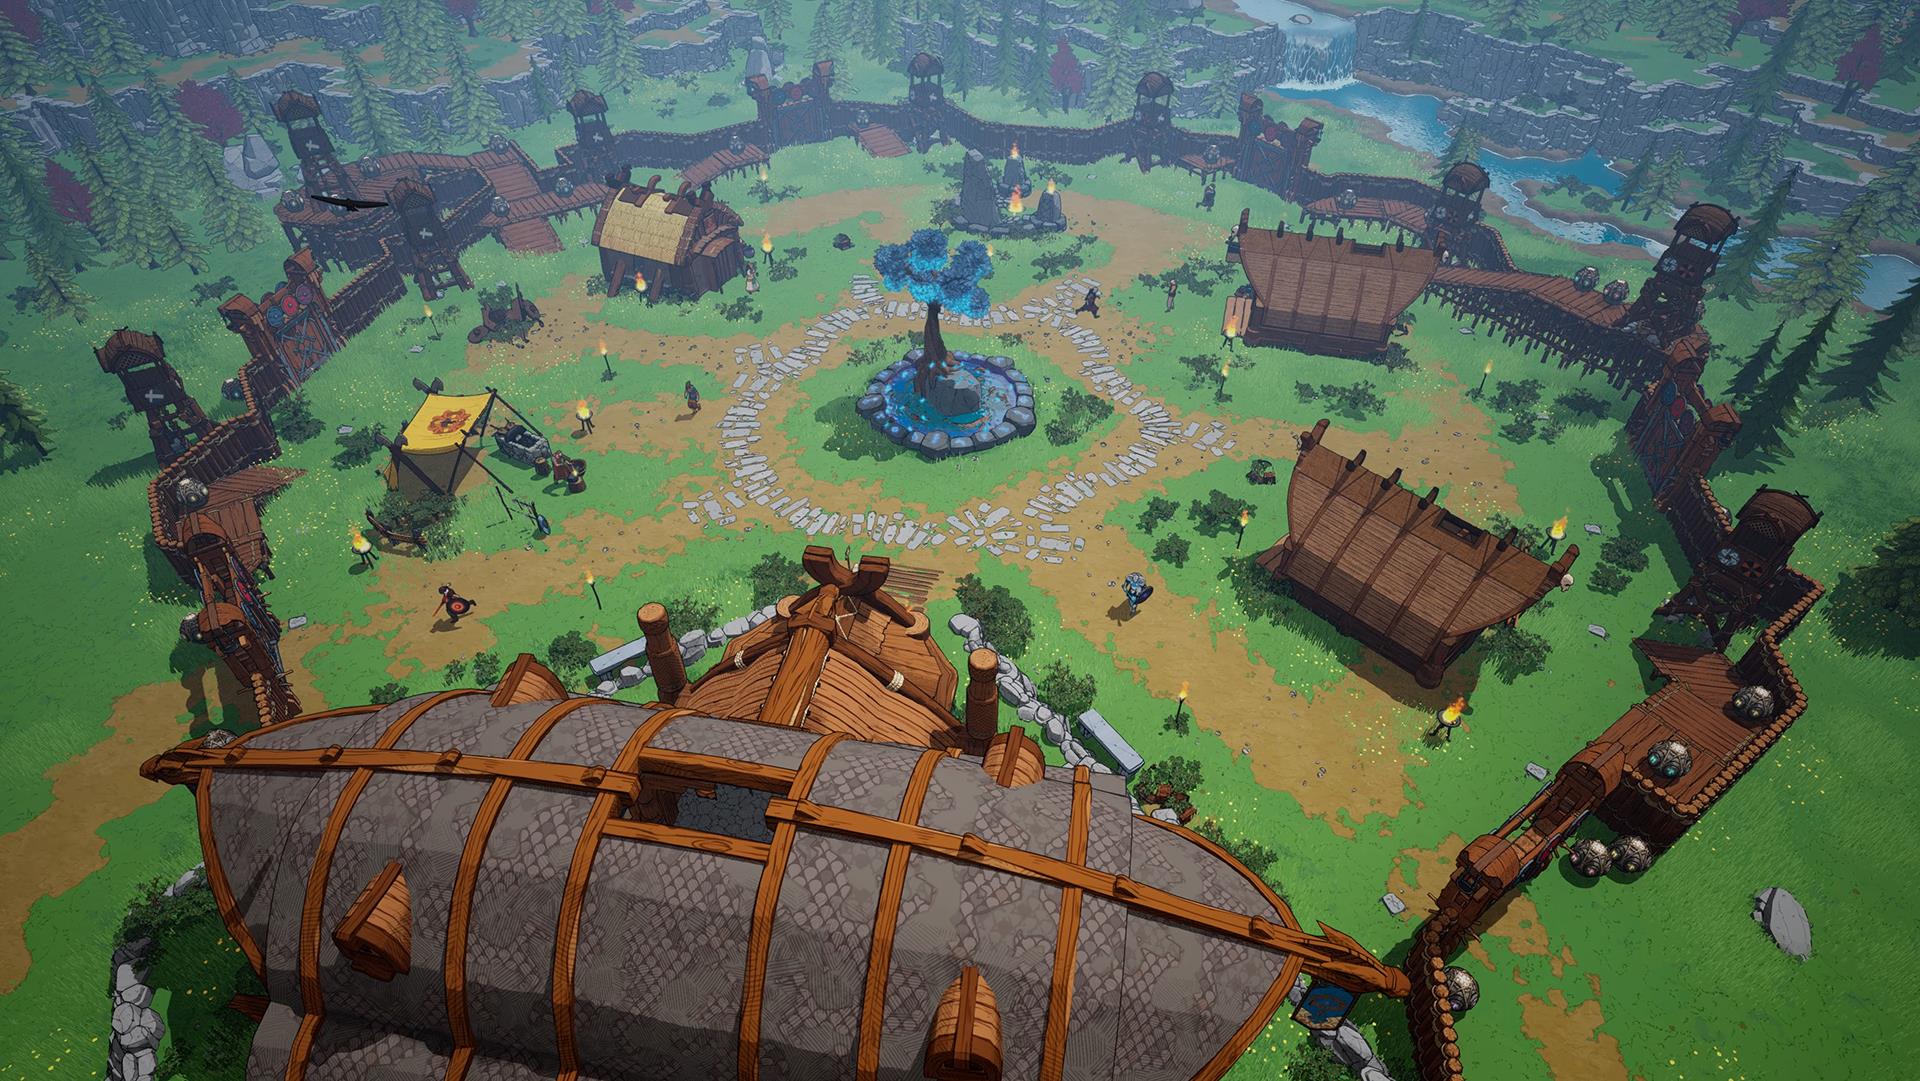
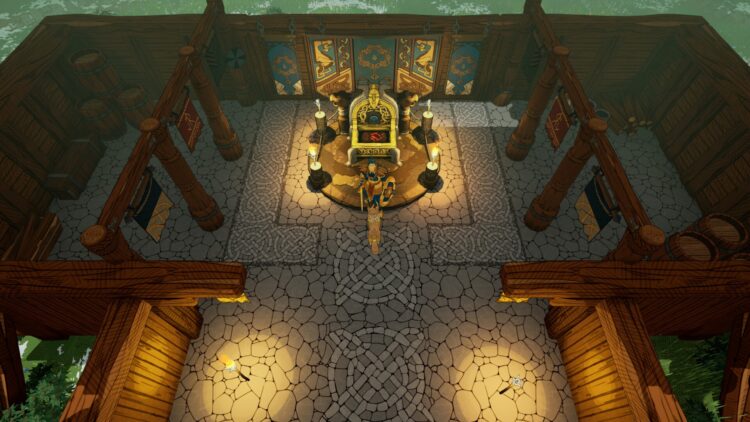
Defending Yggdrasil and the village
Tribes of Midgard uses a procedurally generated map each time you start your campaign/run. As such, the layout is never the same each time you spawn in a new world. However, you’ll notice that your village/hub is close by at the beginning of the game and this is where you’ll learn how to defend it.
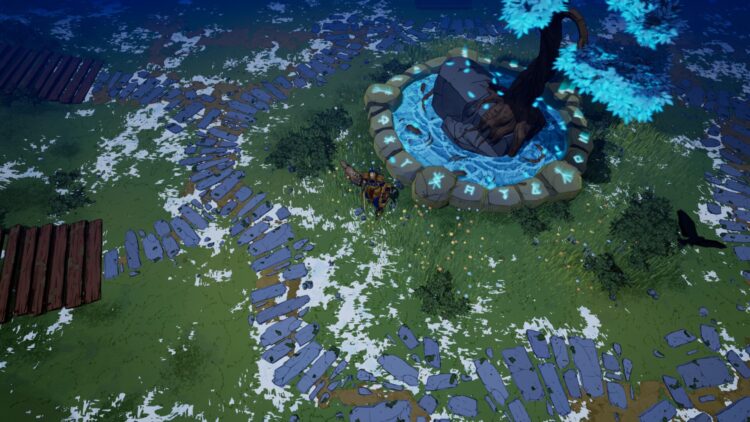
First, there’s the world tree, Yggdrasil, which is the realm’s overall HP. You’re able to heal it by giving “souls” (a currency obtained whenever you pick up items/materials or defeat mobs). But, if its HP is fully depleted, your realm will be destroyed and that’s the end of your game. You’ll need to start from scratch.
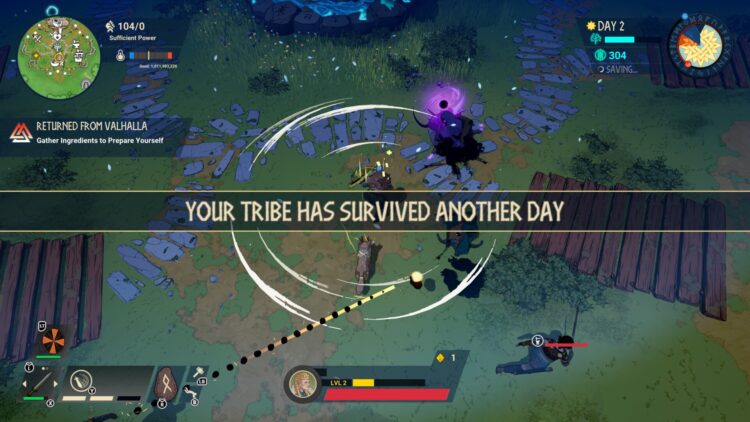
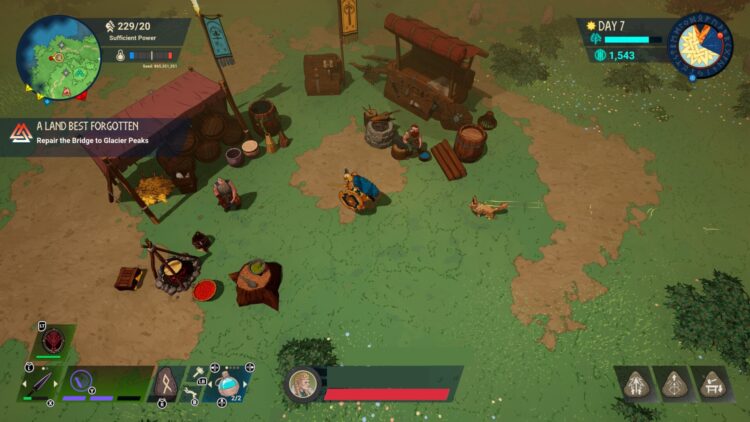
Anyway, at the end of each day, you’ll see a notification that Helthings will arrive. These are regular mobs that will swarm your village and beeline for the world tree from three directions. NPCs in the village will help defend it, but they could also get knocked out. If you see them on the ground, you can revive them so they can get back into the fray. Once the sun has risen, the notification will tell you that you’ve survived. But, more challenges await.
Note: It’s possible that Helthings won’t spawn on certain nights, but these instances are few and far between.
The Jotnar, Blood Moon, and Fimbulwinter
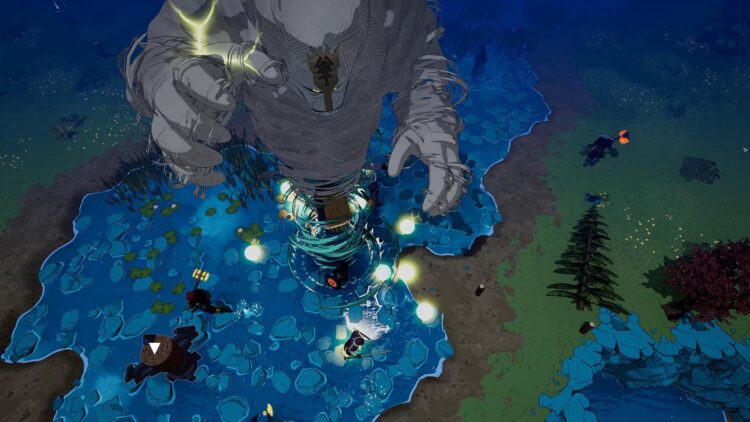
Starting on day 2, you’ll be warned that a Jotnar has arrived in Midgard. Jotnar (plural for Jotunn) are giants that will also come for Yggdrasil. Jotnar will spawn at the edges of the map, and they’ll close to your village after a couple of days have passed. Be ready for them since they’ve got a massive health pool (roughly 40,000 HP for the first one that you encounter).
Likewise, you should take note of other notifications such as the “Blood Moon” and “Fimbulwinter.” A Blood Moon implies that stronger Helthings will appear, and it’s unlikely that NPCs will be able to take them out. The Fimbulwinter, meanwhile, refers to the endless winter that brings about Ragnarok. The world will slowly freeze over and Helthings will consistently respawn due to longer nights.
Note: You can learn more about these giants in our Jotnar battles guide.
Crafting and staying ahead
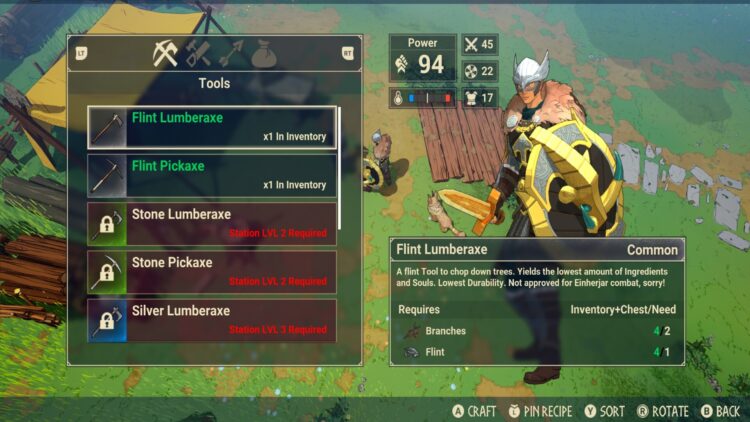
From the tutorial and in each subsequent playthrough, you’ll realize that picking up resources quickly is imperative. You’ll start out grabbing only flint and wood with your bare hands. Next, you can get pickaxes and lumber axes for rocks/minerals and trees respectively. As you progress, you’ll also be able to avail of the different crafting services that each village NPC has:
- Tinker – Lets you purchase pickaxes and lumber axes, exchange resources for crafted goods, or buy objects used for building.
- Trapper – Sells potions, tripwires, and other magical traps.
- Blacksmith – Allows you to craft various types of weapons (i.e., swords, hammers, axes, and bows). Some blueprints might require lower-tier versions of an item. Moreover, higher-tier variants provide additional action bars that let you unleash different types of attacks.
- Armorer – Allows you to craft various shields and armor pieces. Some blueprints might require lower-tier versions of an item.
- Seeress – Heals you as long as you’re within the AoE radius.
Remember, these NPCs can be upgraded by spending souls to unlock new wares and items. Since they’ll join the fight whenever the village is attacked, this can be problematic especially during the later stages of your Tribes of Midgard campaign. It’s possible for hostiles to continuously spawn, leading to NPCs becoming distracted and preventing you from interacting with them.
Note 1: Additionally, you’ll find other fixtures that you can upgrade by using souls. Examples include the quarry (generates stone and iron), lumberyard (generates different types of wood), farm (generates resources from animals and plants), gates (blocks the passageways used by enemies), and towers (shoots nearby hostiles).
Note 2: Likewise, there are other NPCs that you’d encounter as you’re out and about exploring. Some allow you to sell your wares in exchange for souls, while others let you purchase treasure maps or fragments that help you progress the main quest.
General exploration: Biomes, ledges/ramps, water, and death
As mentioned earlier, Tribes of Midgard has procedural generation to make each map’s layout different. However, there will always be five distinct biomes in each world: Bright Forest (the starting region), Land of Pools, Ash Beach, Smoky Highlands (fire damage over time unless you have resistance armor), and Glacier Peaks (frost damage over time unless you have resistance armor). Be on the lookout for waypoints that allow you to fast travel to and fro. Likewise, you have a “town portal” action (“T” on your keyboard or “R3” on an Xbox gamepad) that allows you to return to the village. This does have a 10-minute cooldown.
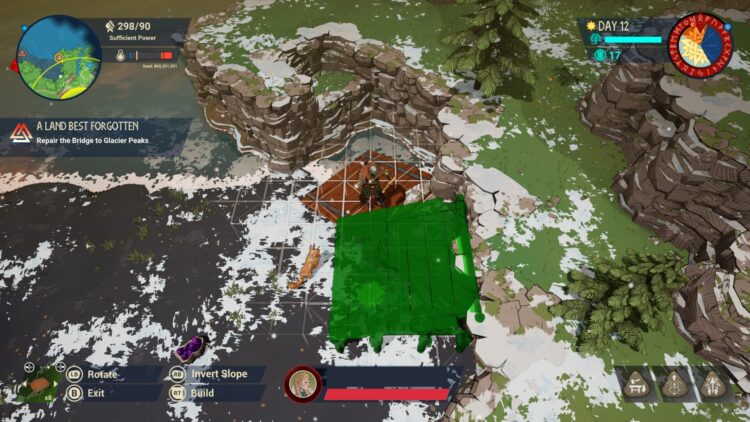
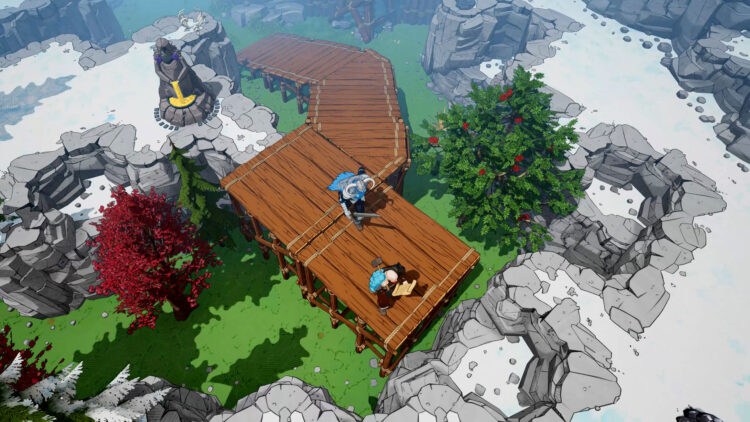
Another thing you’d notice is how it can be tough to reach certain spots because of ledges. What you’ll need to do is purchase some ramps from the Tinker (she needs to be level 3 for the ramp with the highest angle). Then, you can use the build action (“C” on your keyboard or “LB” on an Xbox gamepad). Place the ramps so that they’re positioned properly, angled in a way that lets you walk to a higher location (seen in the image below).
Lastly, watch out for bodies of water. Although you play as a Viking in Tribes of Midgard, you’re an intrepid raider who never learned how to swim. Drowning or getting your HP bar depleted due to the environment/monster attacks will respawn you close to the village. You can return to where you died to pick up your materials (i.e., a corpse run), but you’ll still lose all the souls you were holding at the time. That’s why it’s always important to spend your souls on upgrades, purchases, or Yggdrasil healing.
Campaign progression: Leveling and classes
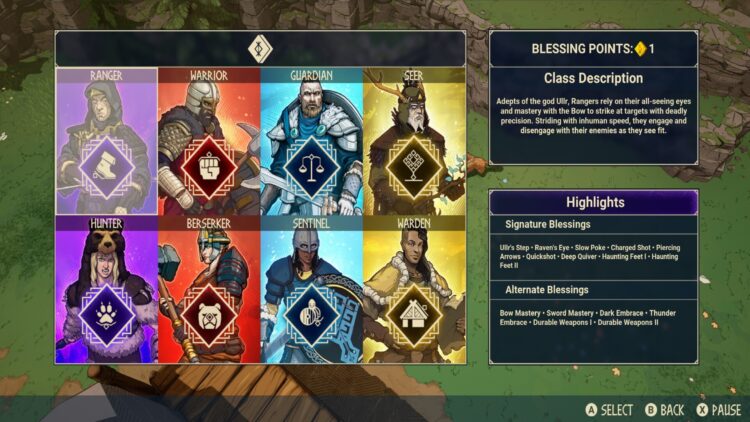
You earn experience points (EXP) in Tribes of Midgard through various actions, such as picking up resources, upgrading vendor NPCs, healing Yggdrasil, and killing enemies. Every level up nets you a blessing point (i.e., skill point). You should then be able to select a class among those that are available, along with other skills pertaining to that class once you have enough points. Bear in mind that you can only select one class per run, so you have to play another game if you want to try out others.
Note: You can learn more in our class unlocks and skills guide.
Battle pass/season pass: Increasing your rank and acquiring starter gear
However, campaign-based leveling is just one form of progression. The other is account-based due to Tribes of Midgard‘s battle pass/season pass. Basically, each time you complete a run, you’re granted battle pass EXP based on how many days you survived, the character EXP that you earned, and the number of Jotnar that you’ve slain. In turn, you’ll unlock additional rewards from the battle pass itself.
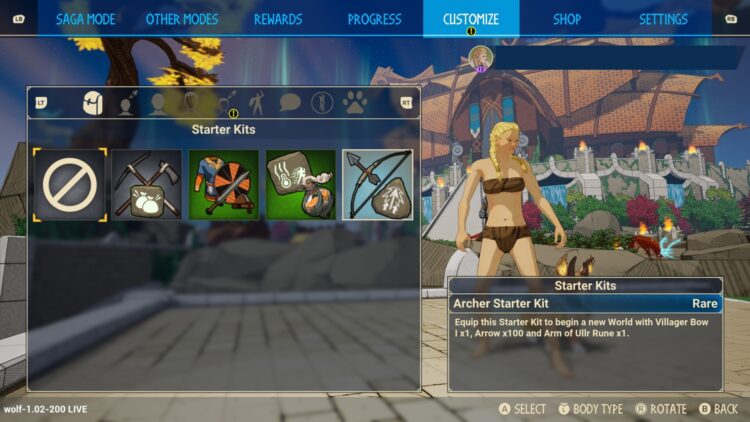
Some of the more important rewards are starter gear pieces. These allow you to begin a campaign with specific items already in your inventory (i.e., weapons, armor, or mining tools). You wouldn’t necessarily need to begin each run wearing only your loincloth and fur undies.
Note: Your Tribes of Midgard campaign can end abruptly if Yggdrasil loses all of its HP or if you choose to abandon your world. However, if you can manage to kill at least one Jotunn, the Bifrost will be activated. You can then use this to exit your realm (destroying it for good), and you’ll receive rewards, too. It’s also a requirement for the Seer class unlock.
Golden Horns and runes
Golden Horns are a special currency found in Tribes of Midgard. There are three ways to obtain them:
- Leveling up your battle pass/season pass (mentioned above).
- Defeating enemies (i.e., Jotnar and elite/stronger mobs).
- Opening treasure chests.
You then have the following options on how you’d spend your Golden Horns:
- Golden Chest inside the Seeress Hut – This will usually reward you with an item like a rune. Runes are passive boosts to your character. Examples include increased damage to distant enemies, increased damage versus Jotnar, keeping a percentage of your souls when you die, and so on. All classes can have five runes equipped, barring the Warden who can have six of these active. You’ll need to destroy a rune if you wish to free up a slot.
- Legendary items – Legendary gear pieces (i.e., orange color) usually require various materials, including one Golden Horn, for crafting purposes.
- In-game shop – Tribes of Midgard‘s in-game shop lets you use coins (premium currency) and/or Golden Horns to purchase cosmetic items.
Quests and events
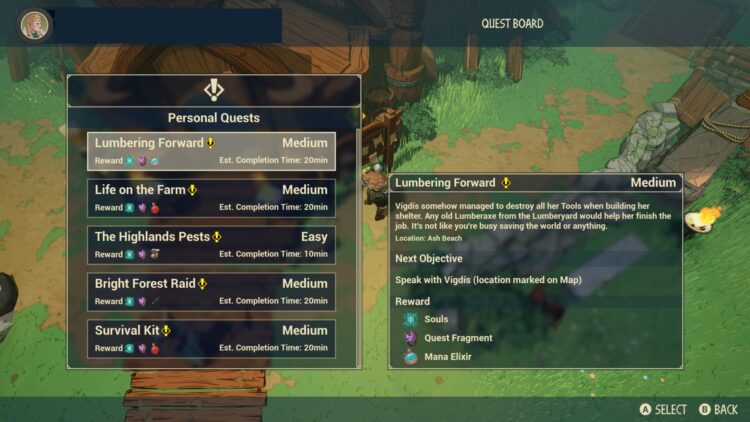
There are other facets that you need to consider before reaching Fenrir’s lair in the main quest. That’s because Tribes of Midgard has other activities that you can do. These include picking up a quest from the board near the Seeress hut. You can only have one active sidequest at a time, but you’ll earn rewards such as materials, weapons, armor, runes, and quest fragments.
You may also encounter random events that pop up, such as the Roosters of Ragnarok or the Prisoner Rescue. Mind you, these events have a timer, so you have to finish them before it expires. They might reappear later though.
Note 1: You can learn more in our quests, fragments, and events guide.
Note 2: As for the main quest, you can check out our Fenrir Saga boss guide.
Solo or co-op?
Don’t let the game’s description fool you. Although Tribes of Midgard does state that you can do Saga Mode solo or with a group of 10 players, soloing is an absolute pain in the butt. When you consider how often your village gets attacked at night, and then having to go out and battle a Jotunn before it reaches your hub, you’ll know that you’ve got your work cut out for you.
These are just two key objectives. Don’t forget that you’ll need to do quests/events, unlock classes, or search for more materials. The pacing is definitely off and you might experience a lot of woes if you’re playing solo. As such, it’s better to join existing realms via matchmaking. Alternatively, you can host your own world and have friends or random folks join. Just remember that Yggdrasil getting destroyed also means the end of everyone’s game in that particular world. Lastly, you can try out Survival Mode, which is basically your group against an endless tide of enemy mobs.
Tribes of Midgard is available via Steam. For more information, check out our guides and features hub.
PC Invasion – FeedDDD
Source link
Related Post:
- Tribes of Midgard Shift Codes: All working Midgard codes
- Tribes of Midgard Review Impressions: A Refreshingly Chaotic Survival ARPG
- Tribes of Midgard class guide — Skills and unlock requirements
- Tribes of Midgard — Jotnar boss battles and rewards guide
- Tribes of Midgard — Fenrir Saga Mode quest and boss guide
- Tribes of Midgard — Fragments, random events, and quests guide
- Tribes of Midgard Beginner’s Guide: 10 Things I Wish I Knew Before I Played
- Tribes of Midgard Golden Egg rune guide
- Tribes of Midgard Fenrir boss guide
- 10 Beginners Tips And Tricks Ratchet and Clank: Rift Apart Doesn't Tell You
