
So, you’ve just entered the Shattered Realm in Destiny 2: Season of the Lost. Chances are, you might feel lost, but we’ve got a guide to help you during your first visit. Past this point, though, you’ll be returning to the area to search for Ascendant Anchors for the “Ascendant Ballast I” challenge. The challenge itself requires you to find 10 of these in the Ascendant Realm and another 20 while patrolling. Here’s our Destiny 2: Season of the Lost guide to help you find 10 Ascendant Anchors in the Shattered Realm for the “Ascendant Ballast I” challenge during the first week.
Note: For more information, check out our Destiny 2: Season of the Lost guides and features hub.
Destiny 2: Season of the Lost – Shattered Realm 10 Ascendant Anchors guide (Ascendant Ballast I – Week 1)
The reason I mentioned completing your first Shattered Realm run is because you need to acquire the Barrier Breach upgrade for the Wayfinder’s Compass. Although you can acquire some Ascendant Anchors without it, a few more do need you to go through some barriers. Plus, it helps when you start familiarizing yourself with the area (which is very dark and has no map).
Likewise, I should remind you that you need to activate the first Awoken Beacon/kill the first champion. Once you do this, the Lanterns can be activated. Specifically, we’re looking at the ones with the “bird flying down/bird down” symbol since these are the Lanterns that let you use the Barrier Breach ability. Let’s assume that you’ve already activated the beacon in the church (Abbey of Whispers). Well, it’s time to start looking for the Ascendant Anchors.
Note: You might encounter a bug that prevents you from interacting with Barrier Breach Lanterns even though you already have the upgrade. I’m not entirely sure how to fix it during a run. In my case, I simply went back to orbit to redo the activity (which wasted a bit of time). Likewise, it’s been reported that you might not see the correct tallies for the weekly challenge even if you’ve gathered several items already.
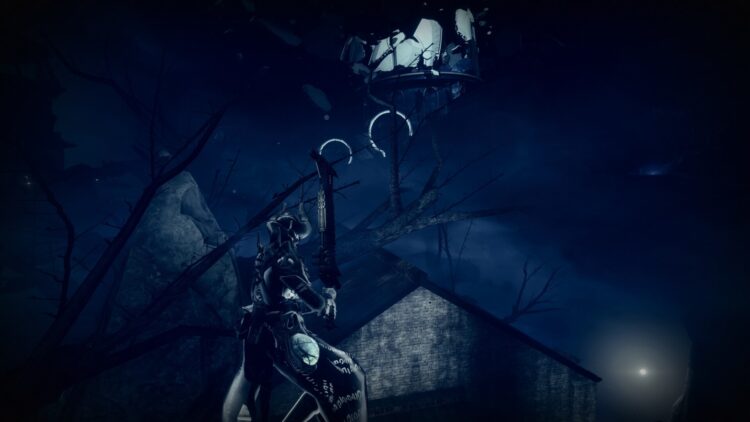
Ascendant Anchor #1: Abbey of Whispers
You’ll find a Barrier Breach Lantern near the church’s entrance. Activate it and hop on the pillars/beacon to reach the top.
Ascendant Anchor #2: Outskirts
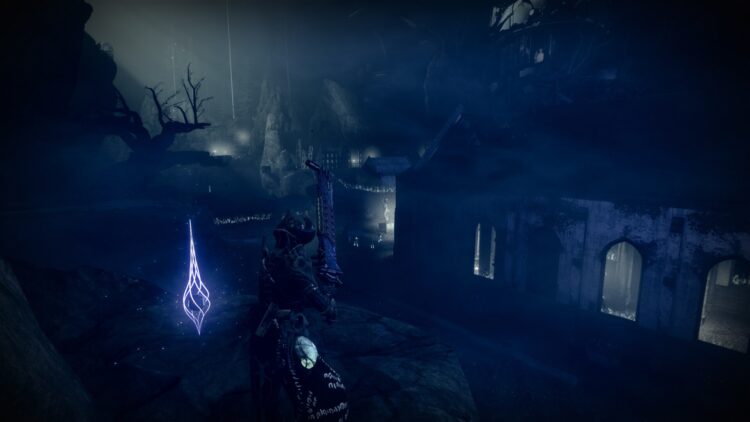
After picking up the first Ascendant Anchor at the top of the church, look to your left to find another one that’s above some rocks. This is also close to a Trivial Mystery (a requirement for the “Ley Line Rumors” weekly challenge).
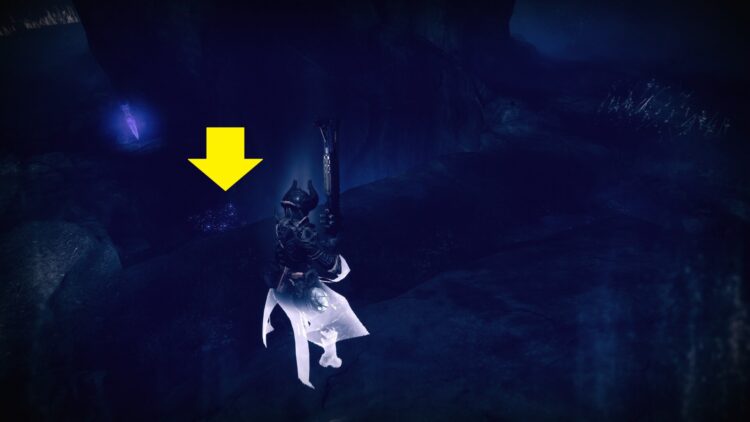
Ascendant Anchor #3, 4, and 5: Outskirts/Crypt
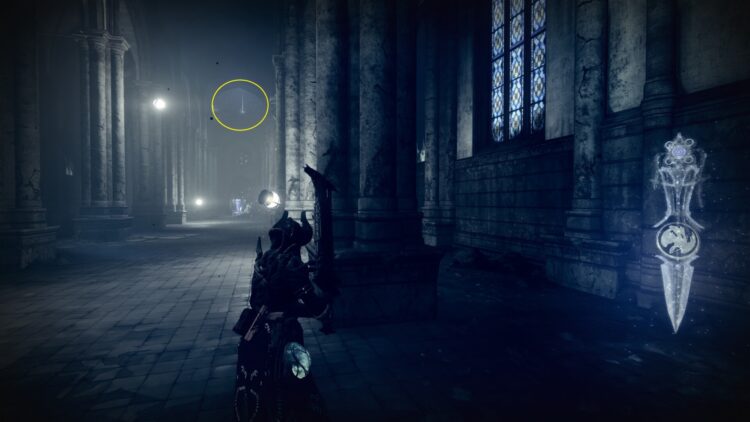
From the church, make your way to the nearby crypt. There’s an Ascendant Anchor behind it. Next, use the Lantern to go through the barrier. Down below, you’ll find another Trivial Mystery as well as an Ascendant Anchor (seen in the image below).
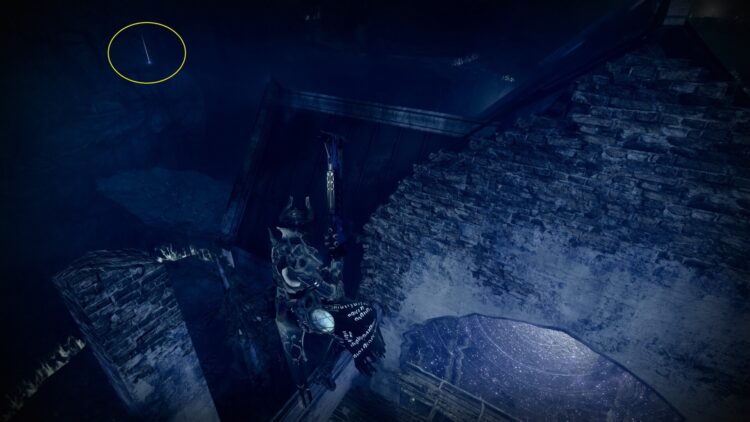
Exit the crypt and make your way back up top to the crypt’s entrance. Go straight ahead and you’ll see another barrier, as well as an Ascendant Anchor next to a tree.
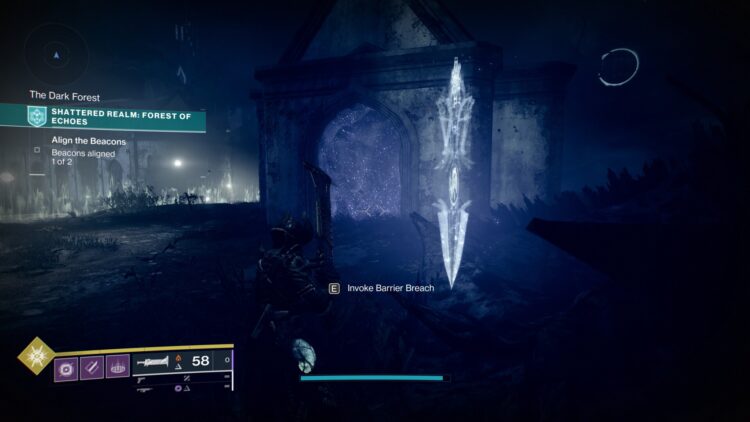
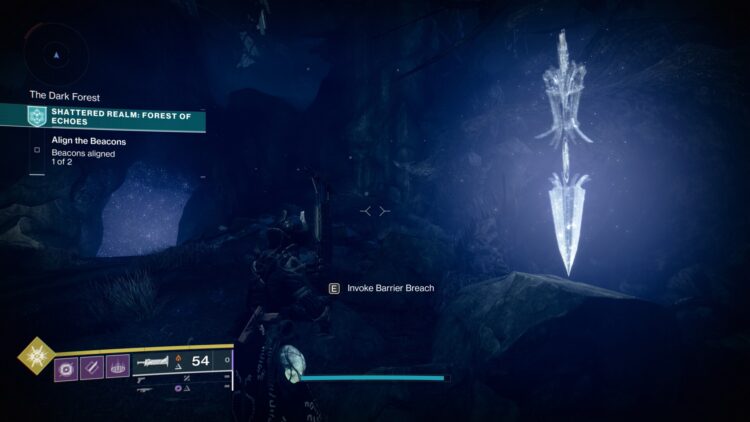
Ascendant Anchor #6: Dark Forest
After picking up #5, use the Lantern to pass through the barrier that’s in front of you. There’s another cavern with a Trivial Mystery chest and an Ascendant Anchor.
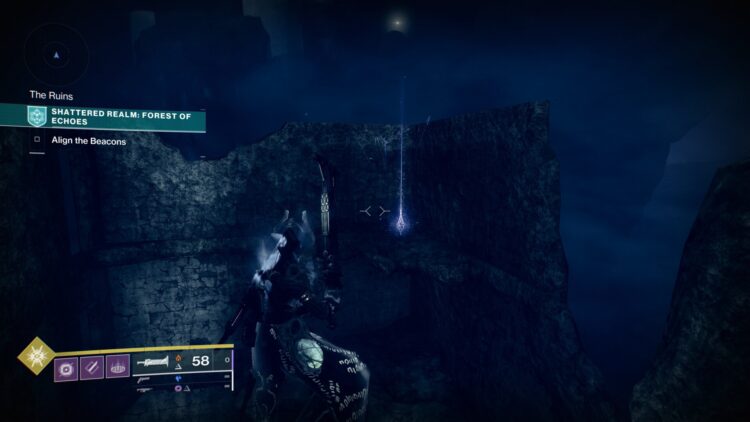
Ascendant Anchor #7: The Ruins
Traverse to the side by using the floating rocks until you reach the ruins. The object that you’re looking for is on the second floor of one of the buildings.
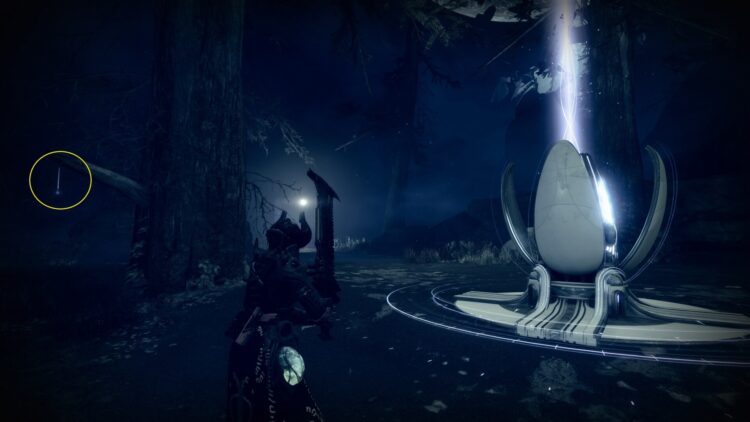
Ascendant Anchor #8: Harrowed Cliffs/The Mill
Follow the path that you took to reach the second Awoken Beacon. You’ll find a water mill which has another item.
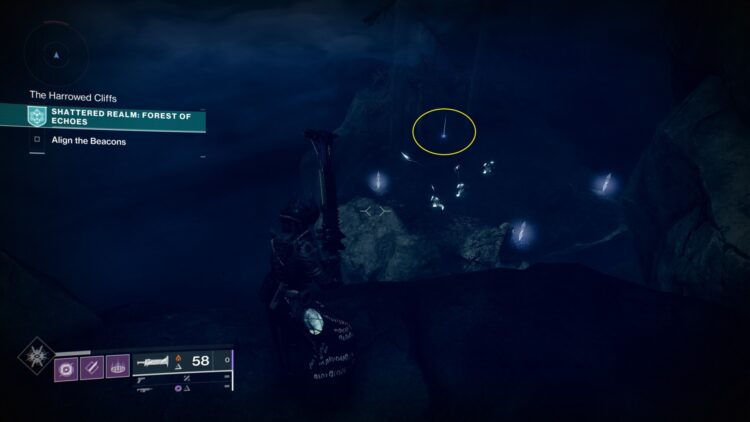
Ascendant Anchor #9: Harrowed Cliffs
Next, go to the beacon and look down the cliff to your right. You should see a lone island with several Lanterns and another Ascendant Anchor.
Ascendant Anchor #10: The Sunken Cave
There are two ways to reach this area. The first is by jumping off the cliffside in The Ruins down to the ledge to your right. You can breach the barrier here to enter the caverns.
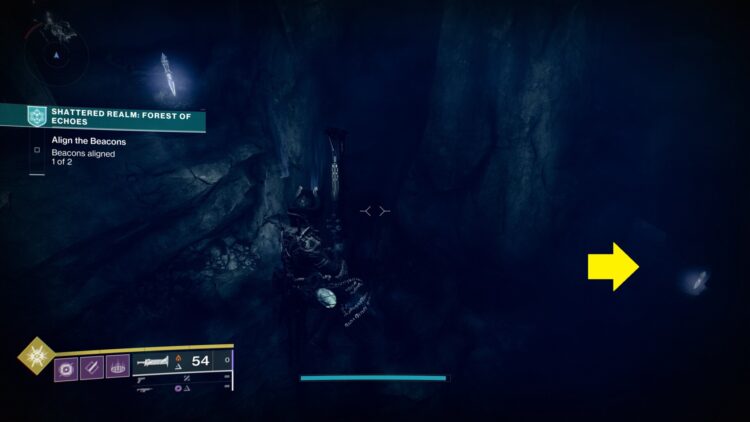
The other method, if you’re already at the Harrowed Cliffs, is to jump on the top of the mill. Then, make your way to the rock formation with several giant blights.
If you look down below, you’ll see a floating island with several lanterns. One of these lets you activate the Barrier Breach ability so you can fall through the opening.
Anyway, that does it for the 10 Ascendant Anchor locations in the Shattered Realm. These are only for week 1 of Destiny 2: Season of the Lost and its “Ascendant Ballast I” challenge. Don’t forget that you need to find 20 while patrolling (you can consult our EDZ locations guide if you need help).
When you’re done, all you need to do is wait for the next weekly reset. We might gain new Wayfinder’s Compass upgrades so we can explore the rest of the zone.
Destiny 2: Season of the Lost is available via Steam. For more information, check out our guides and features hub.
PC Invasion – FeedDDD
Source link
Related Post:
- Destiny 2 Ascendant Anchor locations | All Shattered Realm Ascendant Anchors
- All 9 Ascendant Anchors locations in Shattered Realm (Week 2)
- All 13 Ascendant Anchors in Shattered Realm (Week 3)
- EDZ Ascendant Anchor and Parallax Trajectory locations guide
- All Trivial Mysteries in the Shattered Realm (Week 1)
- Destiny 2: Shattered Realm – Debris of Dreams guide
- Destiny 2 Debris of Dreams and how to find Shattered Realm beacons
- Prepare to Weigh Anchor with King of Seas
- Payday 2 anniversary statue locations: All anniversary statues locations
- The Witcher: Nightmare of the Wolf shattered my illusion of Vesemir