In this Solasta Crown of the Magister Ranger Guide I’m going to discuss my Hunter Ranger Build, and show you what works in terms of choosing the best Ancestry or Race, Background, Abilities and a lot more. If you’ve been looking for a way to play as a Ranger specializes in wielding Ranged Weapons with deadly precision, then this Guide is for you.
Solasta Crown of the Magister Ranger Build Guide: Hunter
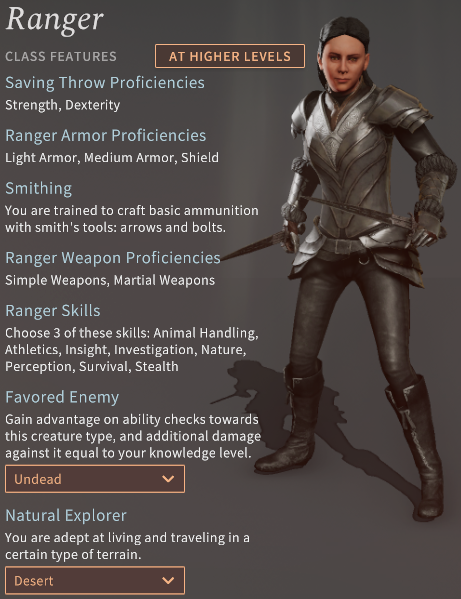
Rangers are warriors of the wild who hunt monsters that run rampant and threaten their habitat. They make use of their familiarity with nature by casting Spells that harness its power while tracking their enemies aggressively. Because of their efficient speed and Stealth prowess, they are ruthless to fight against. Their Proficiency with Simple and Martial Weapons enable them to adapt to different forms of Combat, may it be Ranged or Melee focused.
As a Hunter Ranger, you’ll focus on Dexterity and Constitution to improve your hit chances and damage dealt with Ranged Weapons predominantly, and to increase your HP. Furthermore, in every encounter, you’ll be utilizing Hunter’s Mark to increase the damage you inflict. You’ll also perform Surprise Attacks in order to gain the upper hand right from the start. Because of this, your enemies won’t be able to attack in the first round of combat, which can be a huge benefit to your group.
Ranger Character Creation
In this section, we’ll discuss the best Ranger’s Ancestry, Background, Abilities, Skills, and Language to choose in Character Creation.
Ancestry
Out of all the races, Humans make the best Rangers because they receive +1 to all of their Ability Scores. The additional +1 to Dexterity and Constitution benefit this Class greatly. Dexterity is needed to increase the chances of hitting and severely harming enemies with Dexterity-based Weapons. Meanwhile, Constitution makes them more durable.
Background
For the Background, I recommend choosing Lowlife. This grants you Proficiency in Sleight of Hand, Stealth and Deception. The first two Skills are relevant even if the latter isn’t since you won’t be investing in Charisma. Sleight of Hand allows you to trick targets or to steal from them if you want, while Stealth guarantees that you trigger Surprise Attacks. Surprise Attacks prevent enemies from attacking your party at the first round of every encounter, enabling you to deal as much damage as you can at the beginning of combat.
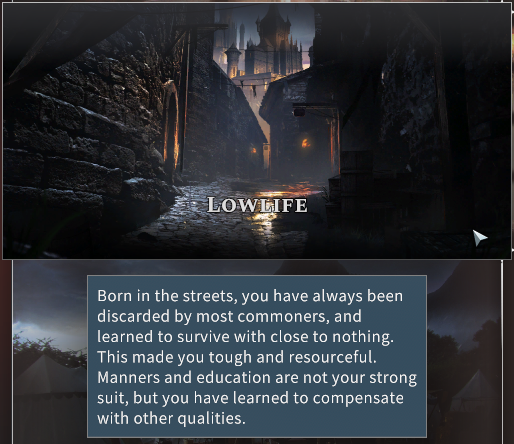
Additionally, with Lowlife, you also gain the Burglary Feature, which makes you skilled in using Thieves’ Tools. Because of this, you act like a Rogue who can easily disarm traps and open locks, which is essential considering that there are a lot of these in the game.
Abilities
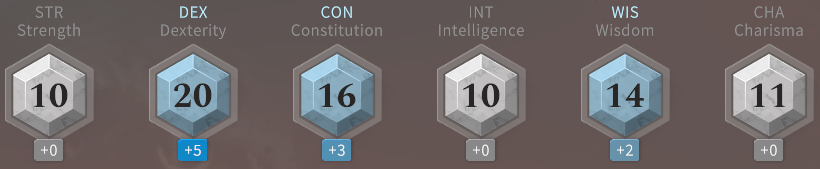
In this guide, I’ll be making use of the Point Buy Ability Generation System instead of Dice Rolls so I can control the points I allot for each Ability. The Ranger’s primary Ability is Dexterity. As I mentioned earlier, it increases your chances of hitting and damaging enemies with Dexterity-based Weapons. Furthermore, with a high Dexterity, you boost your Armor Class (AC) as well as your Initiative or the chances of going first in combat. Dexterity also influences Skills that you’ve gained from being a Lowlife, specifically Sleight of Hand, Stealth and Thieves’ Tools. I highly recommend setting this Ability to 16 to gain +3 Dexterity Modifier.
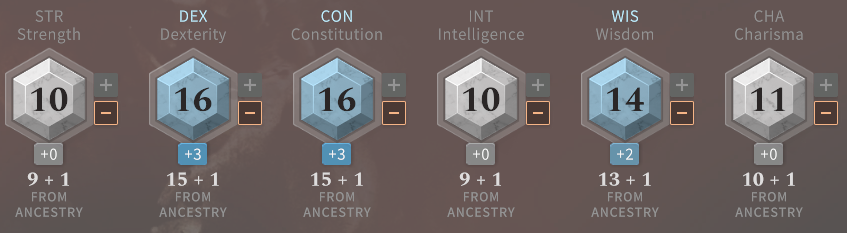
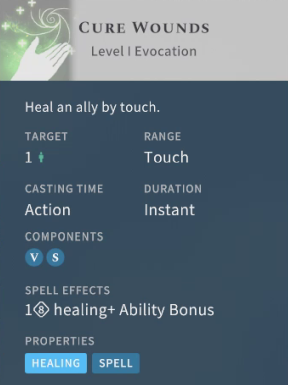
The second important Ability is Constitution, which you should increase to 16 so you can start with 13 HP. Next, I suggest raising Wisdom to 14 since this is your Spellcasting Ability, which determines whether or not the Spells you cast will successfully land on your targets and can increase the healing of some spells like Cure Wounds. Note that some Ranger Spells don’t need Wisdom, although others may, so this allows you to select any Spell at higher levels without worry. You can then distribute the remaining points between Strength, Intelligence and Charisma.
Your Ability Score spread should look like this with Point Buy:
Skills
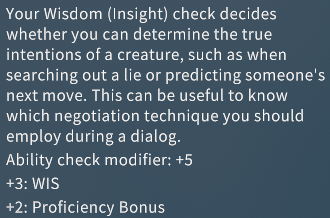
For Skills, I recommend choosing Insight, Perception and Athletics . Insight gives an idea if the NPC you’re talking to is sincere or not, enabling you to detect their truth or lies.
Perception enhances sensitivity to your surroundings, making it easy for you to spot anything extraordinary such as traps while Athletics also helps you climb difficult terrain.
Language
You can choose any language you want.
Ranger Level 1 Favored Enemy and Natural Explorer
Favored Enemy
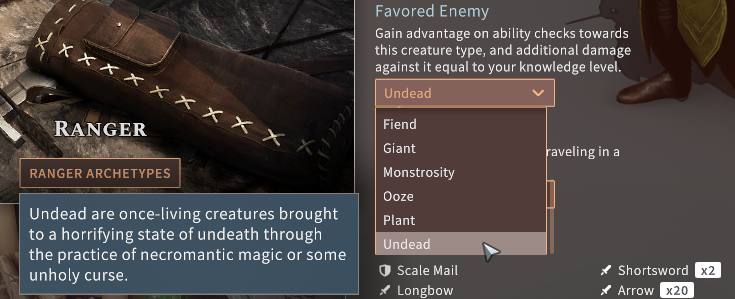
In Character Creation when you choose Ranger, you’ll be asked to pick your Favored Enemy. This provides you with Advantage on Ability Checks and extra damage when facing said enemy. Advantage is a mechanic, which makes you roll a D20 or 20-sided die twice for an Attack Roll, Ability Check, or Saving Throw. Having Advantage means you’ll be using the higher value. In this instance, you’re able to track them when you make Wisdom or Survival Checks while dealing extra damage.
Since you’ll be dealing with a lot of Undead in Solasta, most especially at earlier levels, this is my recommended Favored Enemy choice.
Natural Explorer
With Natural Explorer, you’re familiar with a certain type of terrain such that it doesn’t slow your party down. You also obtain twice as much food and you remain on high alert so it’s tough to initiate Surprise Attacks against you. You can either choose Desert, Swamp or Forest since these are prominent in the game.
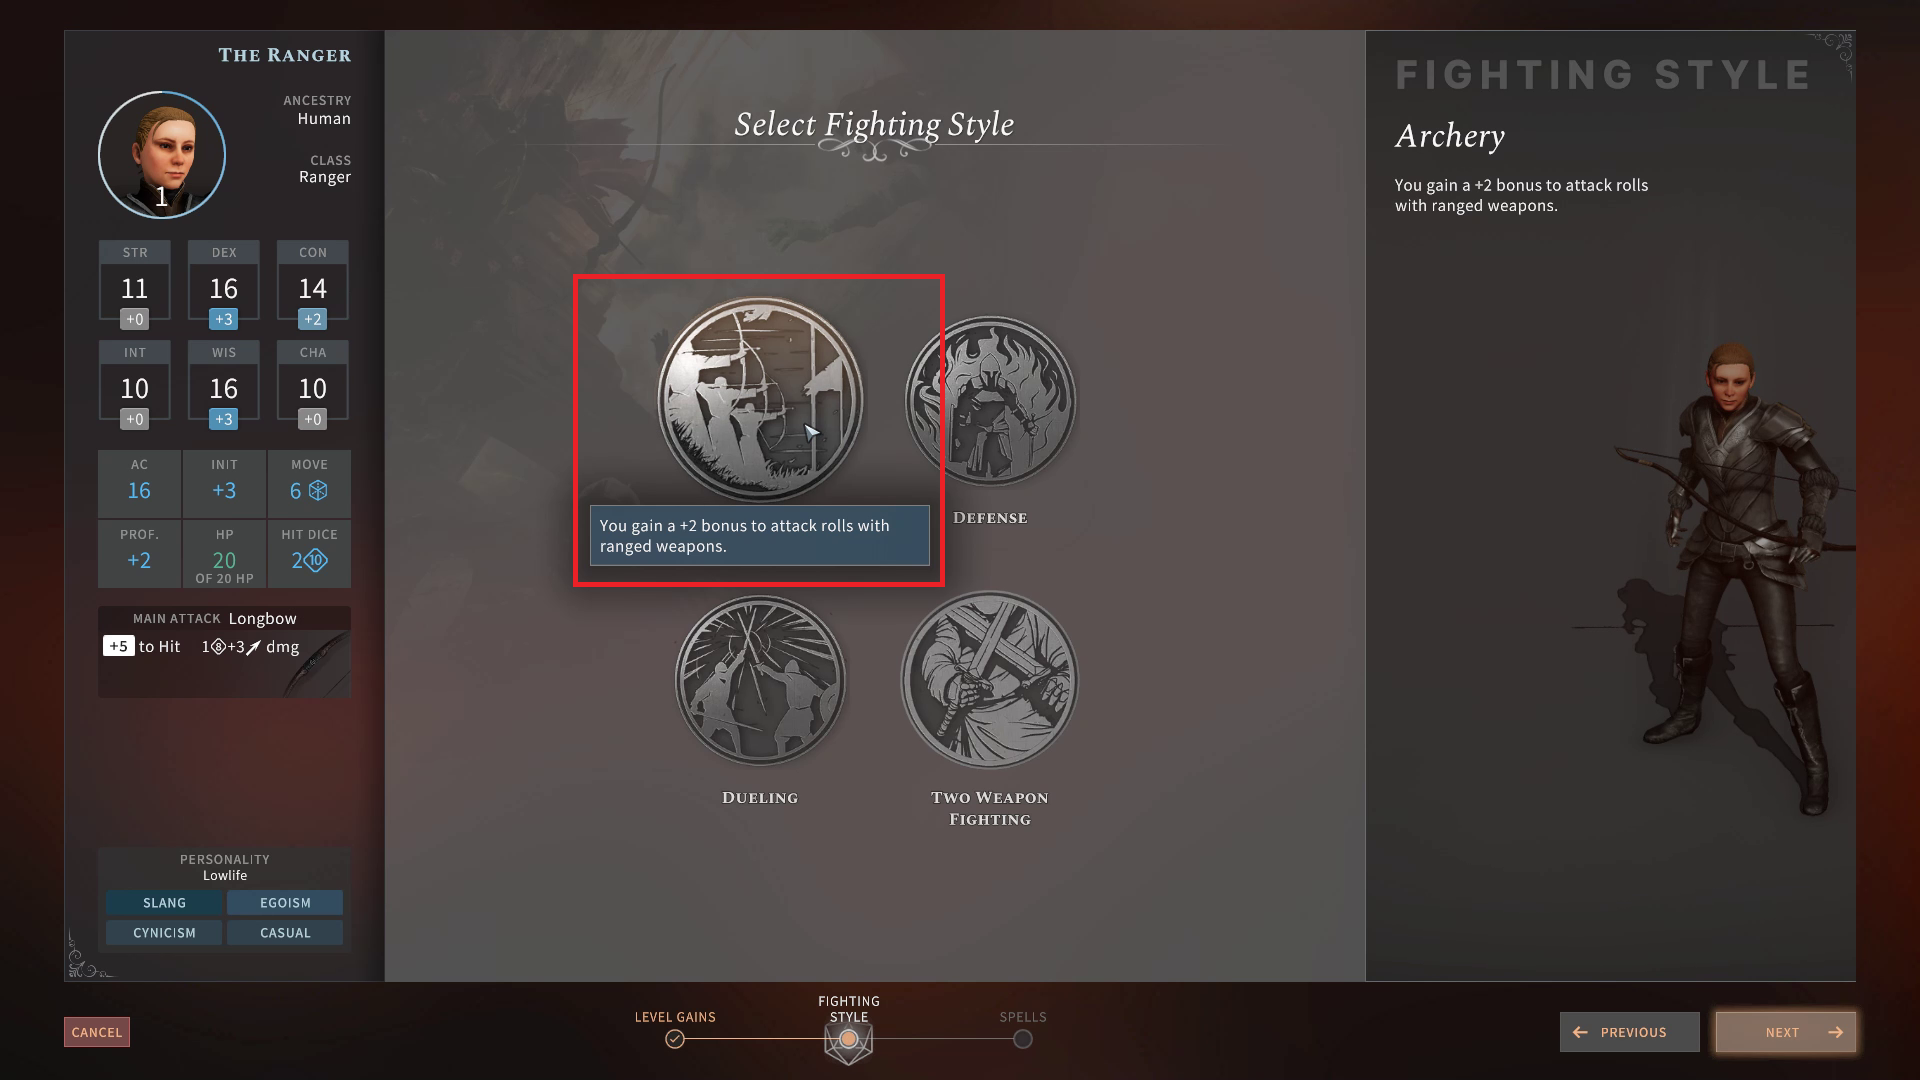
Ranger Level 2 Fighting Style and Spells
At Level 2, you’ll choose a Fighting Style. Among the four, you can go with Archery or Defense. Archery increases your chances of hitting enemies with Ranged Weapons because of the +2 bonus to your Attack Rolls. On the other hand, if you feel the need to protect yourself even more, you can opt for Defense, which provides you with an extra +1 AC.
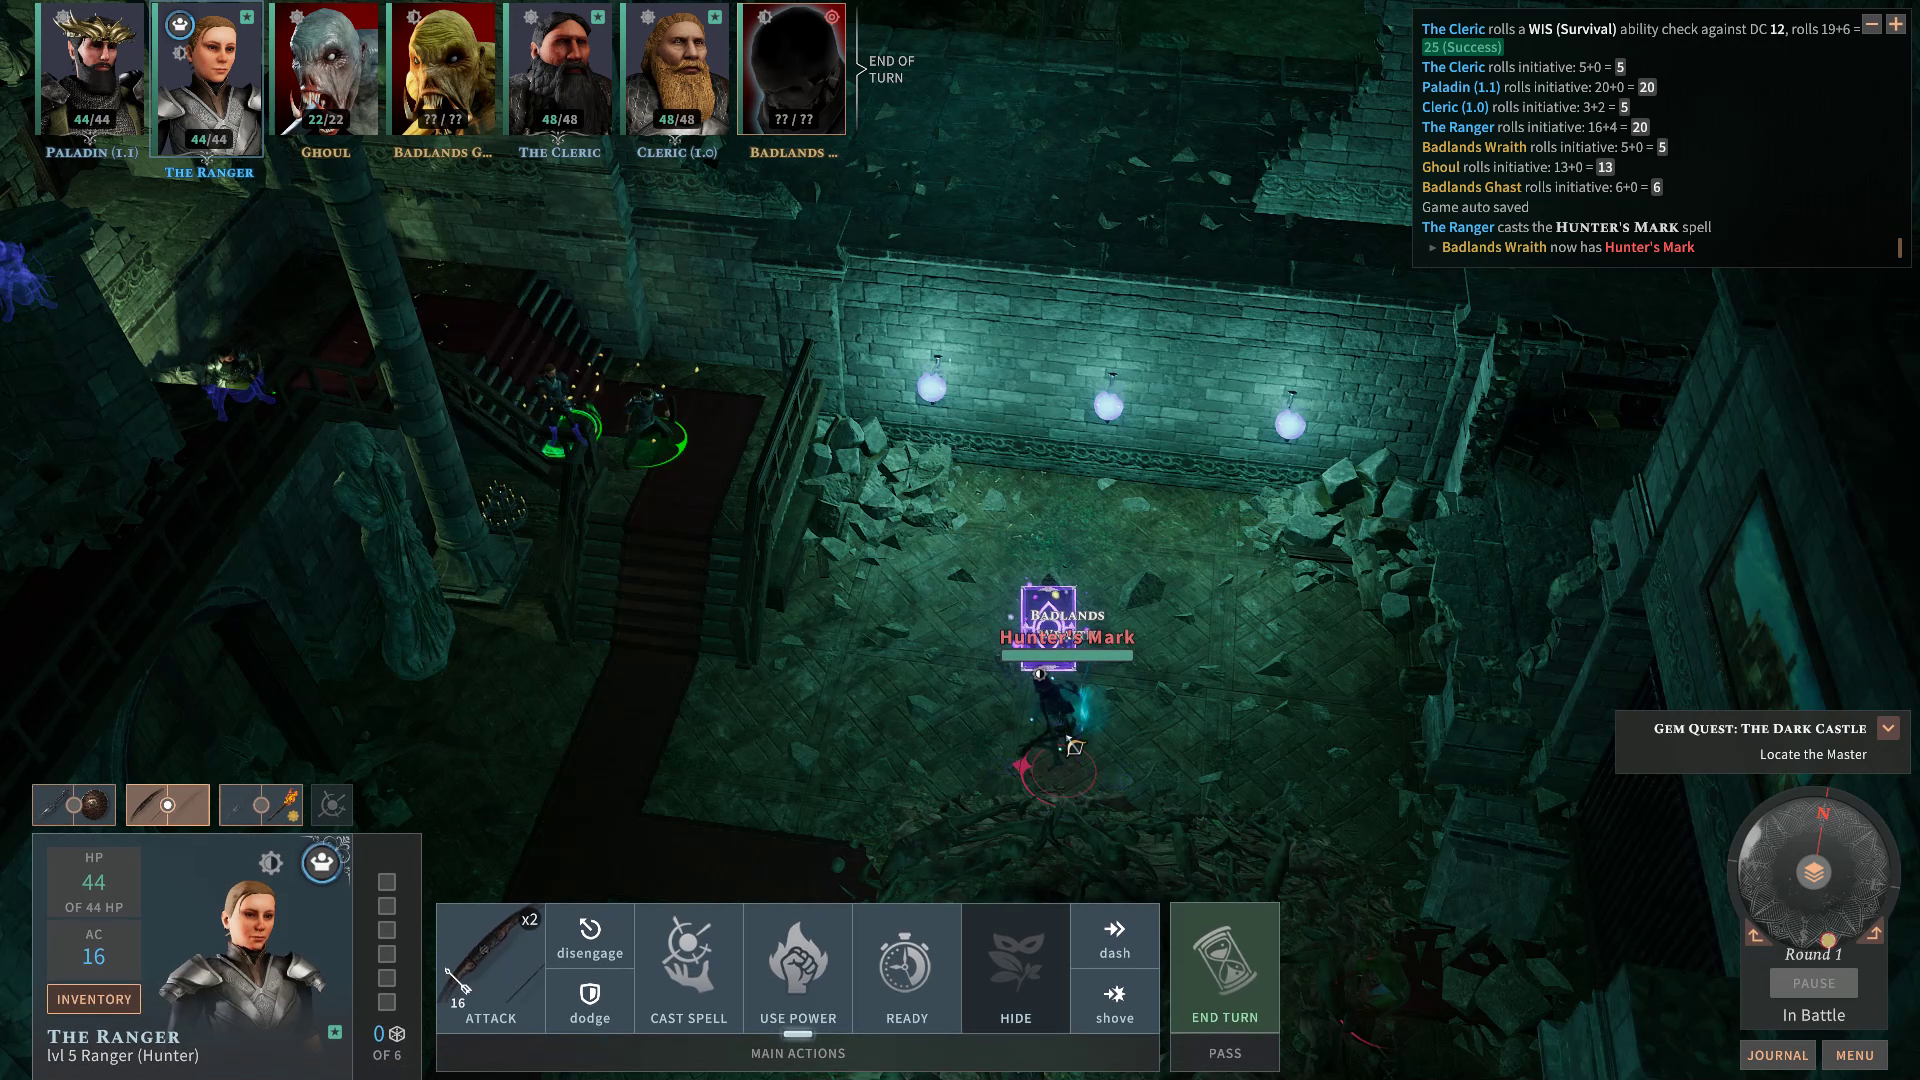
At this level, you can also choose two Ranger Spells. I highly suggest selecting Hunter’s Mark, which is a super reliable Spell because it allows you to harm enemies more thanks to the extra 1-6 damage it inflicts. What’s great about this is it’s a Bonus Action so you can cast this Spell first before you perform your Ranged Attack. Additionally, Hunter’s Mark can last for the entire duration of the encounter even if the enemy you’ve targeted has died, provided that you maintain Concentration. You can simply target another foe.
Concentration is broken if you cast another Cantrip or Spell that also requires Concentration. For example, if Hunter’s Mark is active and you decide to cast Fog Cloud, then Fog Cloud will be the active Spell. Moreover, when you take damage while a Cantrip or Spell that requires Concentration is active, you’ll need to make a Constitution Saving Throw and succeed to maintain its effect, otherwise you’ll have to recast it. This is where Constitution comes in handy in order to increase your Saving Throw’s success rate.
For the second Spell, you can select Cure Wounds, which heals a party member next to you, also taking into account your +2 Wisdom Modifier. Because this Spell has the Somatic Component, you’ll have to switch to your Secondary Equipment Set to cast Cure Wounds with your free hand.
Ranger Level 3 Archetypes, Primeval Awareness, and Spell
Archetypes
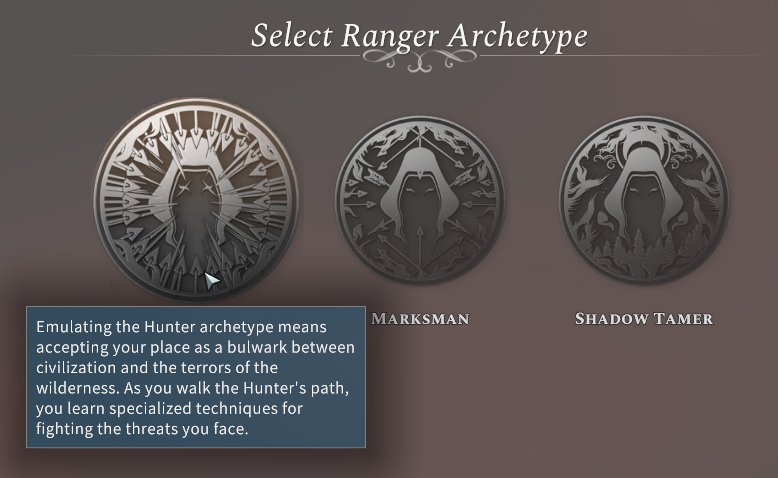
At Level 3, you’ll choose your Subclass from a selection of Ranger Archetypes. Among the Hunter, Marksman and Shadow Tamer, the Hunter is the best damage-dealing build for the Ranger. For the Marksman, you have Reaction Shot, which allows you to attack an enemy as long as they attack you first with a Ranged Weapon or Spell. The drawback with this is it’s a Reaction rather than an offensive move. At higher levels, you can move with your Bonus Action without getting hit by the enemy’s Attack of Opportunity. You’ll then receive Advantage on your next Ranged Attack.
For the Shadow Tamer, you gain bonuses when attacking and inflicting extra damage against enemies in the dark. Moreover, you’re also granted Dexterity Saving Throw Advantage as long as you’re in dim light or in the dark. Although these are situational at best, there are a lot of encounters where light is essential so you won’t remain in these unlit places. However, compared to the Hunter, this Archetype doesn’t provide that many offensive benefits.
This brings us to our chosen Subclass, which is the Hunter. Hunters have access to Hunter’s Prey, which provides them with stable damage in relation to the Specialties they can select.
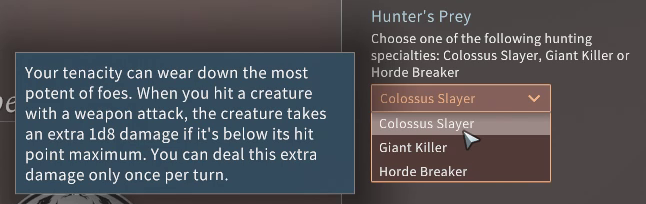
They have Colossus Slayer, Giant Killer, and Horde Breaker. Colossus Slayer imposes extra damage per turn on the target so long as you hit them with your Weapon and their HP has been diminished beforehand. Giant Killer allows you to utilize your Reaction to attack a nearby creature that’s bigger than you. The downside to this is you don’t damage enemies enough compared to the Colossus Slayer and you’ll have to passively wait for a big enemy to attack you. Lastly, Horde Breaker gives you one extra attack against a different creature provided that you’ve killed your initial target with the same Weapon.
Among these three Specialties, the best option is Colossus Slayer because you can easily strike and kill enemies with high HP. It isn’t as useful for weaker enemies since you can eliminate them without this Feature but it does wonders for stronger ones, which you’ll encounter a lot of as you move from one location to the next.
At higher levels, Hunters can choose one Defensive Tactic in order to impose a Disadvantage on the enemy’s Attacks of Opportunity, to gain bonus AC, and to take Advantage on Saving Throws.
Primeval Awareness
Primeval Awareness allows you to detect any nearby foes in the current location you’re in. When you activate this, you’ll expend one Spell Slot.
Spell
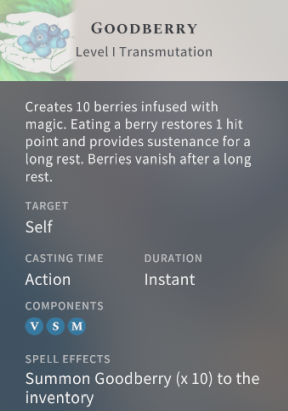
Lastly at Level 3, you can also choose one more Spell. I recommend selecting Goodberry so you can restore 1 HP per berry. This also provides nourishment when you’re traveling so it guarantees the restoration of your party’s strength even when you run out of food. Note that since Goodberry has the Material Component, you’ll have to wear a Component Pouch, which you can buy from Gorim Ironsoot at Caer Cyflen, to cast it.
Ranger Level 4 Ability Score Choice
At Level 4, you’re given two options to further enhance your character. First is with the Ability Score Choice, which allows you to allocate two points on an Ability or one point each to 2 Abilities. Second is with the Bonus Feat, which is part of a set of special Abilities available to almost all of the Classes. You’ll need to fulfill certain requirements before selecting a specific Feat. Some have a caution symbol beside them to warn you that that Feat is not recommended as you are already reaping some, if not all, of its benefits.
Between the Ability Score Choice and the Bonus Feat, I strongly advise picking the former. With this, you can boost your Dexterity by 2 to raise its corresponding modifier to +4. As a result, you’ll be able to hit and to inflict damage with your Ranged Weapons most of the time. You’ll again be given the option to choose between the Ability Score Choice and Bonus Feat when you reach Level 8.
Ranger Level 5 Extra Attack and Spell
At Level 5, you unlock Extra Attack, which allows you to enact two Attack Actions per turn. These Actions can only be applied with Melee and Ranged Weapons. If for instance you shoot an enemy using a Longbow as your first Attack Action, you’ll trigger a second Action with the same Weapon. Extra Attack is also activated when you use Shove.

Note that casting a Spell will not initiate Extra Attack because this is considered as a “Cast Spell” Action instead of an Attack Action.
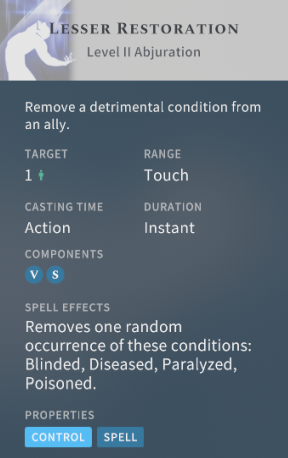
Additionally, you can pick one more Spell at this level. I suggest taking Lesser Restoration so you can remove one harmful condition from anyone in your party.
Ranger Level 6 Favored Enemy and Natural Explorer
At Level 6, you get to choose another Favored Enemy to inflict additional damage as well as Natural Explorer, thereby making it easier for you to move in that specific terrain. You can select Beast and Forest, respectively, since you’ll encounter both at higher levels.
Ranger Level 7 Defensive Tactics and Spell
At Level 7, you can select one Defensive Tactic, which can either be Escape the Horde, Steel Will, or Multiattack Defense. Escape the Horde imposes a Disadvantage on any enemy that hits you with an Attack of Opportunity. Steel Will grants you with Saving Throw Advantage against being Frightened. And lastly, Multiattack Defense, which is the best Defensive Tactic compared to the other two, grants you a bonus of +4 AC from the same enemy who successfully attacked you. It also makes you immune to Attacks of Opportunity, thereby allowing you to freely move in front of enemies without getting hit.
At this level, you can also pick one Ranger Spell to your liking.
Ranger Level 8 Ability Score Choice
At Level 8, I recommend choosing Ability Score Choice over Bonus Feat. With this, you’ll be able to max out your Dexterity in order to further increase your hit chances while inflicting huge amounts of damage with your Dexterity-based Weapons. Moreover, your AC becomes higher, making you more resilient from incoming attacks.
Your improved Ability Score spread should look like this:
Ranger Level 9 Spell
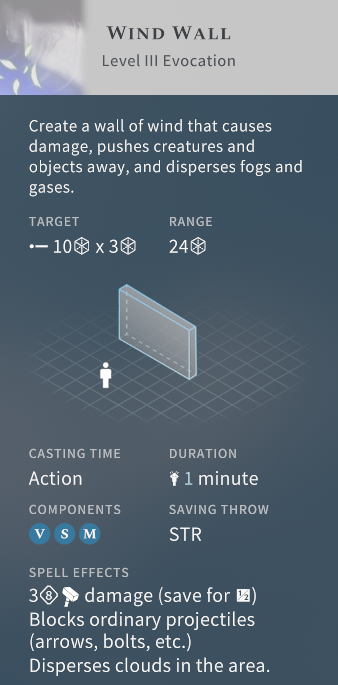
At Level 9, you can choose one Ranger Spell from a list of four Level 3 Spells. I suggest picking Conjure Animal or Wind Wall. Conjure Animal allows you to summon several creatures to aid you in battle whereas Wind Wall lets you create a wall that inflicts 3-24 Bludgeoning Damage. You can even use this as a Shield, which absorbs arrows and bolts.
Ranger Level 10 Natural Explorer and Hide in Plain Sight
At Level 10, you can select another terrain for Natural Explorer. Additionally, you unlock Hide in Plain Sight. This lets you stay hidden as long as you’re beside a wall. Note that when you move or rest, you’ll have to reactivate this Feature.
Equipment
Weapons
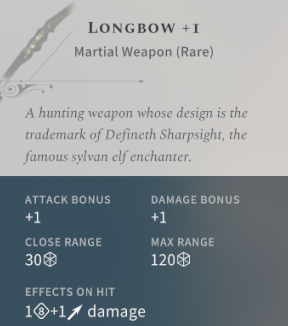
For your Bow, I recommend getting Longbow +1. This allows you to deal high Piercing Damage with bonuses to both Ranged Attack and Damage. Because of this, you’re more likely to hit and to damage enemies from a great distance.
Armor
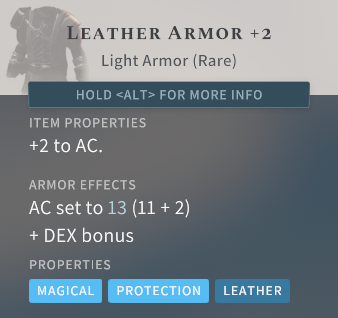
In terms of Armor, you ought to equip Leather Armor +2 Light Armor rather than the Half Plate +1 Medium Armor even if both yield a total AC of 18. This because the Half Plate infers a Stealth Disadvantage.
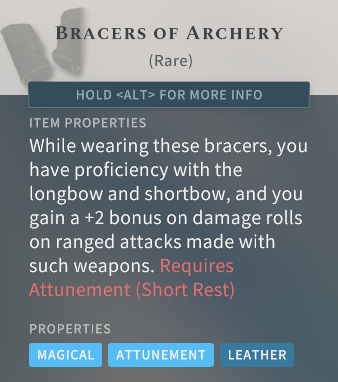
When it comes to Accessories, I recommend wearing the Sigil Ring of Necromancy, Bracers of Archery, and Boots of Elvenkind. All of these require Attunement, which is limited to a total of three pieces of Equipment per character. You can only attune one piece of gear per Short or Long Rest. The Sigil Ring of Necromancy provides you with +1 bonus to both your Saving Throws and AC. As such, your total AC becomes 19 when you equip this. It also grants you the Vampiric Touch Spell, which lets you inflict Necrotic Damage at every turn for 1 minute.

The Bracers of Archery may seem counterintuitive because you don’t need to be proficient with Longbows and Shortbows, which you’re already adept at using to begin with. However, this increases your Damage Roll by 2. With your Longbow +1, your bonus Damage amounts to +3 for a total of 4-11 Piercing Damage.
Lastly, the Boots of Elvenkind provides you with Advantage on Stealth Checks, which means that you can perform more Surprise Attacks.
Final Tips
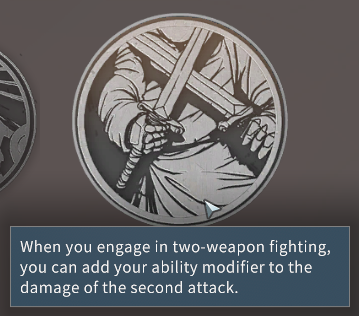
As a Hunter Ranger, you can also dual-wield by equipping two Shortswords if enemies are beside you. Shortswords possess the “Light Property”, which triggers two actions – one from your Main Hand and one from your Offhand. Note that your Dexterity Modifier is only added to your Main Action or Main Hand, not your Bonus Action or Offhand so the initial attack is more powerful than the second. Additionally, you won’t be dealing as much damage as the Rogue since your Fighting Style is Archery. However, if you want a mix of both, you can select Two Weapon Fighting to add your Dexterity Modifier to your second attack’s damage.
Between the Longbow +1 and the Shortbow +2, the former is the better Weapon. Despite having the same average damage, the Longbow’s Max Range is higher at 120 cells versus the Shortbow’s 64 cells.
Lastly, if you lack arrows even after crafting them with your Smith’s Tool, you can wear the Endless Quiver of Colthannin, which generates 20 arrows per hour.

Stay tuned for more Solasta Crown of the Magister content as we take a look at Classes and Builds, and be sure to drop by our Twitch channel if you have questions about the game. If you need something specific, check out our Solasta Wiki.
Fextralife
Source link
Related Post:
- The Waylanders New Summer Update Adds Pet Types for Ranger Class; Sneak Peek at Ranger Advanced Classes
- Solasta Sorcerer Build Guide | Mana Painter Class Guide
- Solasta Rogue Build Guide – Shadowcaster
- Solasta Fighter Build Guide – (Spellblade)
- Solasta Wizard Build Guide – Shock Arcanist
- Solasta Paladin Build Guide – Oath of the Motherland
- Solasta Cleric Build Guide – Battle Domain
- Outriders Trickster Build Guide | Best Trickster Build Outriders
- Solasta Crown of the Magister Beginner’s Guide: 10 Tips You Should Know Before You Play
- The best Genshin Impact Baal build – Raiden Shogun support build